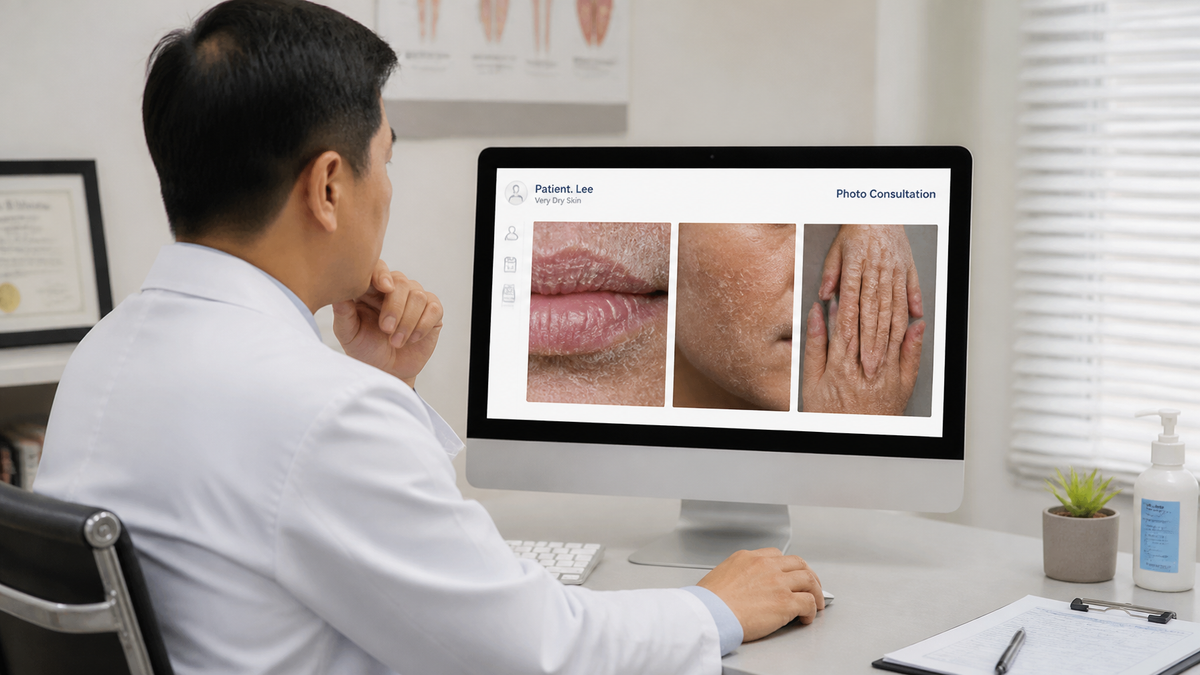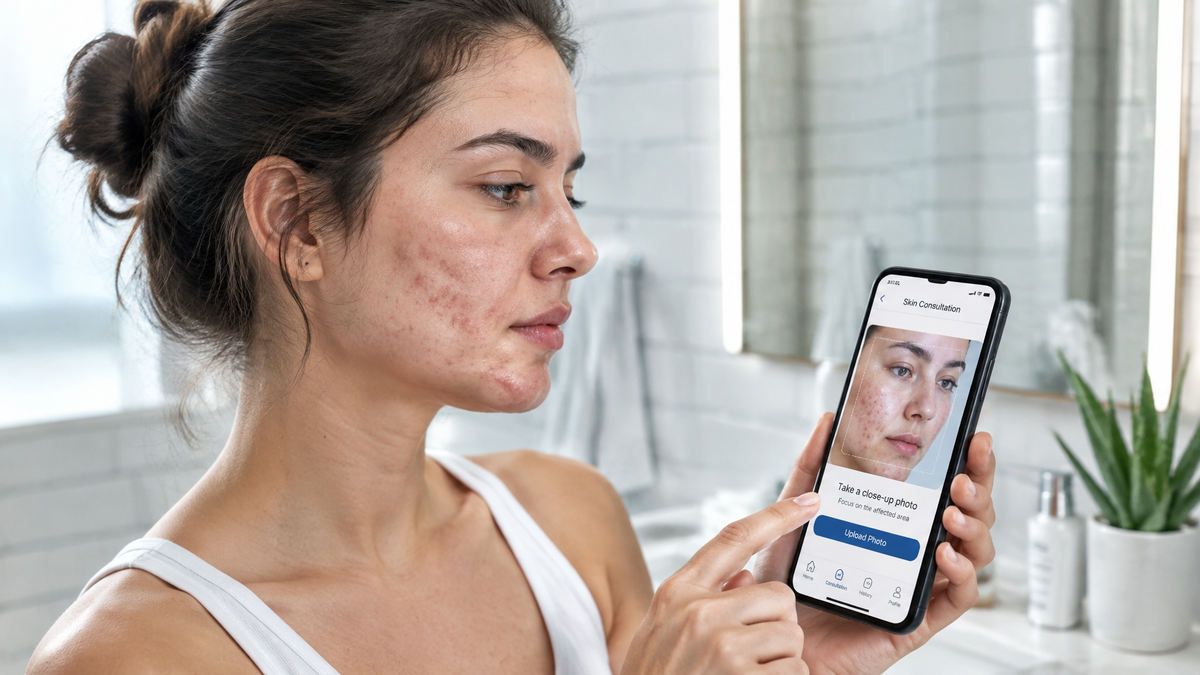
Uploading Photos for Photo Consultation
A photo consultation often feels like handing your holiday snaps to a stranger and asking for the blunt truth. Tucked inside those images is the exact reason you look stunning in one frame and slightly off in the next. The trick is simply giving your coach enough clear material to spot the pattern. Five quick shots taken in ordinary daylight will do it—and taking them takes less time than brewing a pot of tea.
The Five Essential Angles
The advice you receive can only ever be as good as the evidence you provide. Five specific frames give a complete picture:
-
1. Straight On (Neutral Expression): Face the camera directly with relaxed shoulders, eyes level with the lens, and an entirely blank expression—no smiling or raised brows. This acts as your baseline, revealing true facial proportions and establishing a clean reference for later comparison.
-
2. Right Profile: Turn 90 degrees to your right so only one side of your face is visible, looking straight ahead rather than at the camera. Tuck your hair back to show your ear. Profiles highlight your jawline, forehead slope, nose structure, and neck geometry in a way no front-facing shot can.
-
3. Left Profile: Repeat the same step facing left. Human faces are rarely symmetrical, and understanding the distinct differences between your two sides is genuinely useful for everyday styling.
-
4. Three-Quarter View (Right): Rotate about 45 degrees to show your right side. This angle is standard in portraiture because it adds depth and definition—and it happens to be the angle most people see during everyday conversation.
-
5. Three-Quarter View (Left): Mirror the previous shot with your left side forward, keeping the same light, distance, and relaxed posture.
Preparing the Light and Skin Tone
Before capturing any angles, you must fix your lighting. Stand facing an open window on an overcast day, or step into the gentle shade of a doorway. Daylight wins over artificial lighting almost every time.
Direct sunlight creates heavy shadows beneath your nose and brow, distorting features and obscuring the subtle details your consultant needs to assess. Indoor lamps introduce mixed colour temperatures—casting harsh yellow-orange patches—while bathroom mirror lights flatten everything into an unnatural, pale haze. If you must take photos after dark, place a single lamp directly in front of you rather than above or to the side, and accept that the colour rendering won't be perfect.
Colour issues usually stem from this mixed lighting. If window light hits one side of your face while tungsten lamplight hits the other, assessing your warm or cool undertones becomes impossible. Turn off all overhead lights and face your natural light source. Avoid using portrait modes that blur background details, skip automatic filters or beauty enhancements, and let your natural skin texture show through.
Why Five Angles Trump One Flattering Photo
Most people instinctively submit a single, highly flattering photo—perhaps a wedding snapshot captured in golden evening light with a carefully angled chin. While it may look lovely, it is virtually useless for diagnostic work.
An image consultant or portrait photographer is analyzing underlying structure rather than overall attractiveness: cheekbones, jawlines, hairlines, and feature placement relative to one another. One front-facing shot reveals nothing about your profile, while two shots leave out how your face looks when you aren't actively posing. Five varied angles allow a professional to map your features properly and offer genuinely tailored advice.
Setting Up Your Camera and Surroundings
-
Shoot at Eye Level: Positioning a camera below chin height exaggerates the nose and creates an unwanted double chin, while holding it above shrinks the jawline. Mount your device on a eye-level shelf or ask someone to take the shot for you.
-
Maintain Proper Distance: Hold your phone vertically at arm's length. Avoid zooming in tight (which flattens features) or standing across the room and cropping later (which introduces wide-angle distortion).
-
Manage Hair and Wardrobe: Pull hair back from your face for the profile and three-quarter shots. If you usually wear a fringe or keep your hair down, include one extra frame styled normally so your coach can evaluate both the raw structure and your everyday look. Wear a simple, solid mid-tone top with a familiar neckline—busy patterns distract the eye, while harsh colours can wash out your skin tone.
-
Keep Conditions Consistent: Take your set at roughly the same time of day, as skin appearance fluctuates from morning to night.
What to Send Your Coach
Submit your five unedited, unfiltered images in the precise sequence listed above. Clearly label each file—front, right profile, left profile, three-quarter right, and three-quarter left—so your consultant doesn't have to guess.
Resist the urge to overthink which frame looks best, and never delete the ones you find unflattering. The shots you like least are often the most informative for a professional. Stick to five photographs, five minutes, a single window, and a plain wall—giving your coach real evidence to work with rather than pure guesswork.