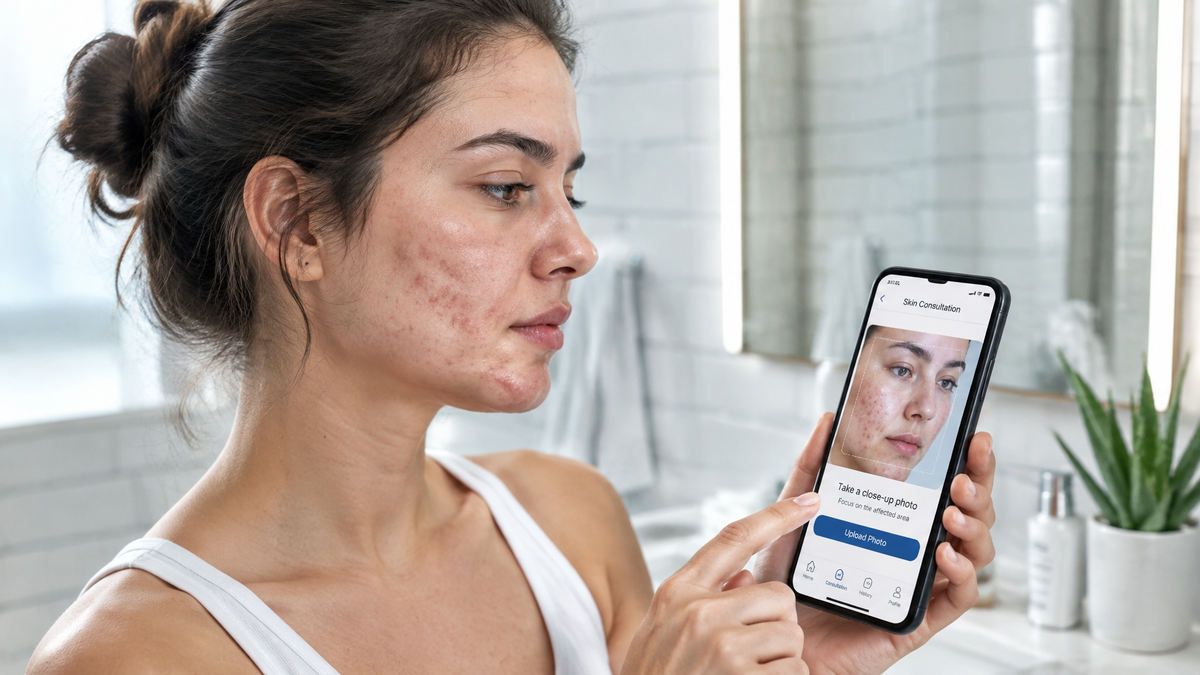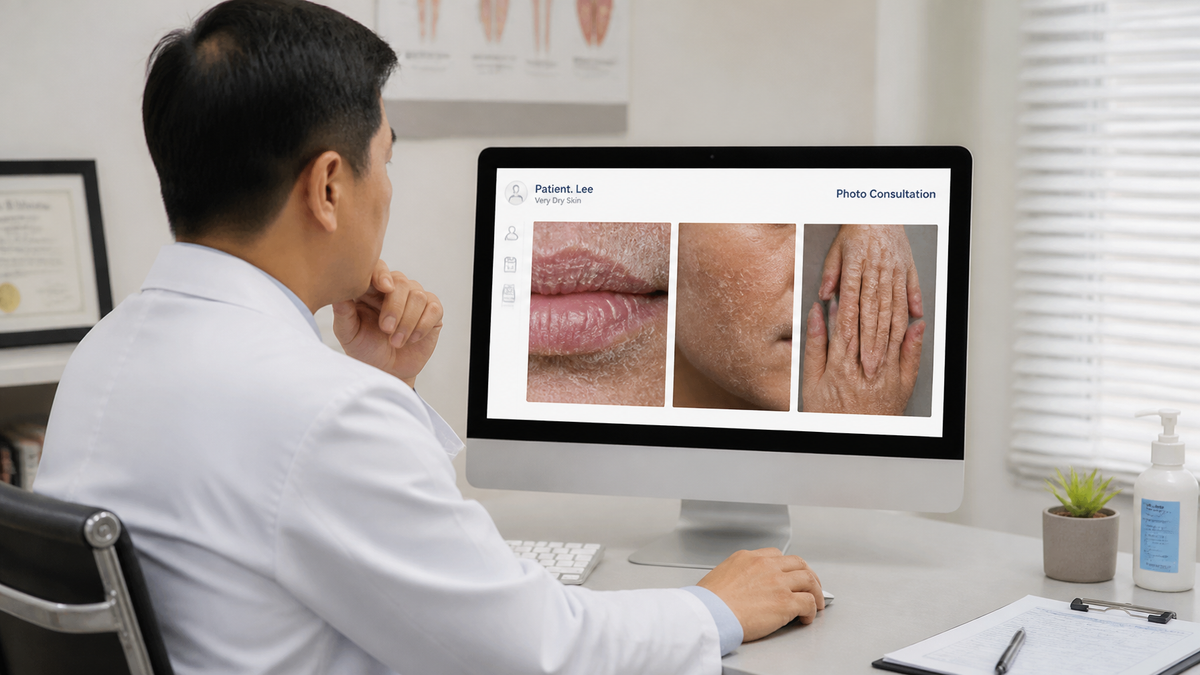
Upload Your Photos in 5 Simple Angles for a Photo Consultation
Booking a photo consultation is one of the smartest things you can do for your skin. Instead of guessing what your skin needs from a shop shelf or a stranger's opinion online, you get a trained eye looking at your actual skin and giving you direction that fits your life. There is just one catch: the consultation is only as good as the photos you send in.
A skincare consultation is a visual assessment. The person reviewing your photos is working from what they can see — texture, tone, redness, dryness, breakouts, scarring, the way light sits on your skin. If your photos are blurry, dim, shot from one flattering angle, or filtered, they are assessing a version of you that does not exist. Send clear, honest images from a handful of angles and the advice you get back becomes dramatically more accurate and more useful.
The good news is that you do not need a studio, a ring light or a professional camera. A phone, a window and five minutes will do it. Here are the five angles that matter, plus how to shoot each one properly.
Why Angles Matter More Than Camera Quality
Your face is not a flat surface. Forehead skin behaves differently from cheek skin, which behaves differently from the jawline and chin. Blemishes cluster in certain zones. Pigmentation often sits across the cheekbones. Dryness tends to show around the mouth and on the cheeks, while oiliness concentrates on the T-zone. Pores are larger in some areas than others, and fine lines appear first where your face moves most.
One photo from one angle hides all of that. Five angles, taken consistently, give a reviewer a genuine map of your skin. They can then make sensible recommendations — which products to introduce first, which to leave alone, how to layer them, and what a realistic timeline looks like. This is true whether you are dealing with congestion, sensitivity, dullness or the early signs of ageing.
The Five Angles to Photograph
1. Straight on, neutral expression. This is your baseline frame. Look directly into the camera with your face relaxed and your mouth closed. No smiling, no raised eyebrows, no tilting your chin. This shot shows overall balance — tone, symmetry, general texture — and it is the one a reviewer will use as their reference point for everything else. Keep your hair off your face and remove glasses.
2. Left profile at roughly 45 degrees. Turn your head so your left cheek is angled towards the camera, about halfway between front-facing and fully sideways. This reveals the cheek, the side of the nose, the temple and the jawline in a way a front-on shot never can. Congestion, blackheads and uneven texture often show up far more clearly at this angle.
3. Right profile at roughly 45 degrees. Repeat on the other side. Do not assume both sides look the same — most people have one side that is oilier, more prone to breakouts, or more reactive, often simply because of which side they sleep on. Capturing both sides lets the reviewer spot asymmetry and tailor advice accordingly.
4. Close-up of the T-zone. Move the camera closer and frame your forehead, nose and the area between your brows. This zone deserves its own photo because it is where oiliness, visible pores and small bumps tend to concentrate. Use the back camera if you can — it is usually sharper — and hold steady so the shot stays in focus at close range.
5. Close-up of the chin and jawline. Frame the lower third of your face, including the mouth and along the jaw. This is the classic home of hormonal breakouts, ingrown hairs, dryness around the mouth corners and textural changes. If you have a specific concern — a patch of pigmentation, a stubborn area of redness, a healing blemish — take one extra close-up of just that area.
How to Take Each Photo Well
Lighting is the single biggest factor. Stand facing a window during daylight hours and let the light fall evenly across your face. Never shoot with a window behind you, because you will be backlit and your skin will read as a dark silhouette. Avoid overhead downlights, which cast shadows under the eyes and exaggerate texture, and avoid harsh direct sun, which flattens detail and creates blown-out highlights.
Keep your phone at eye level, not below your chin. A lower angle distorts proportions and adds shadow under the jaw. An arm's length away is usually right for the front and profile shots, closer for the close-ups.
Turn off every filter, beauty mode, smoothing setting and automatic retouch. This is the one rule that matters most. Filters erase exactly the information the reviewer needs — pores, texture, fine lines, pigmentation. If your camera app automatically smooths skin, switch to a plain photo mode or use the back camera.
Take your photos on a bare face. No makeup, no tinted moisturiser, no SPF if it leaves a cast, and ideally a couple of hours after your last skincare routine so products have absorbed. Shoot before you cleanse for the day if you want to show your skin's natural state, or at the same time each day if you are tracking a concern over weeks.
Get focus right. Tap on your face on the screen to lock focus, hold still for a second, and take two or three frames of each angle so you have a good one to pick. Natural, even lighting plus a steady hand beats an expensive phone every time.
A Quick Checklist Before You Upload
- Five angles: front, left 45, right 45, T-zone close-up, chin and jaw close-up
- Facing a window in daylight, no backlighting
- No filters, no smoothing, no retouching
- Bare skin, no makeup
- Camera at eye level, sharp focus
- Consistent time of day and light from one session to the next
Name your files in the order you took them, or upload them in that sequence, so the reviewer can follow the set logically. Add a short note of your main concerns and how long you have had them — that context sharpens the advice.
What Happens Next
Once you have uploaded your set, a reviewer can assess your skin far more precisely and give you a routine that actually suits it. If you are building that routine from scratch, a gentle, well-formulated starting point makes the process easier — something like a mild cleanser, a hydrating serum and a light moisturiser, with targeted actives introduced slowly once your skin has adjusted. Brands built around straightforward, results-focused formulas, such as REFORM Skincare, are worth considering when you want a simple base to build on, though the right choices still depend on what your photos reveal.
The important thing is the sequence: photos first, advice second, products third. Get your five angles right and everything that follows becomes more accurate, more personal and far more likely to work.
Final Thoughts
A photo consultation removes the guesswork from skincare, but only if the photos tell the truth. Five simple angles — front, both 45-degree profiles, the T-zone and the jawline — taken in soft daylight on bare, unfiltered skin, give a reviewer everything they need. It takes five minutes, costs nothing, and it is the difference between generic advice and guidance built around your actual skin.