How to Take High Quality Photos for Your Photo Consultation
A photo consultation is only as useful as the visual information you provide. Blurry, dark, cropped, distorted, or heavily filtered images hide critical details, often leading to vague guidance or delays while you retake them. Fortunately, you do not need professional equipment—a modern smartphone, natural light, and a few deliberate choices are enough to capture clinical- and professional-grade images.
This guide outlines the essential steps for taking high-quality photos for specialist consultations, whether for skin, hair, aesthetics, dental care, interior design, or personal styling.
Core Principles for Clear Consultation Photos
1. Maximise Natural Daylight
-
Positioning: Stand or place the subject facing a window in a brightly lit room. Indirect, soft daylight (such as on an overcast day) provides the most accurate colour accuracy and detail without creating harsh shadows or washing out features.
-
What to Avoid: Never stand with the main light source behind you (backlighting). Avoid dim lamps, coloured lighting, or harsh overhead bathroom spotlights that distort skin tone and texture. Avoid mixing cool daylight with warm indoor lamps.
2. Clean the Camera Lens & Use the Rear Camera
-
Wipe the Lens: Fingerprints, pocket lint, and skin oils create a cloudy haze over images. Gently clean the camera lens with a microfibre cloth before shooting.
-
Use the Primary Camera: Always use the rear camera rather than the front-facing "selfie" camera. Rear lenses offer higher resolution, superior focus, and significantly less spatial distortion.
-
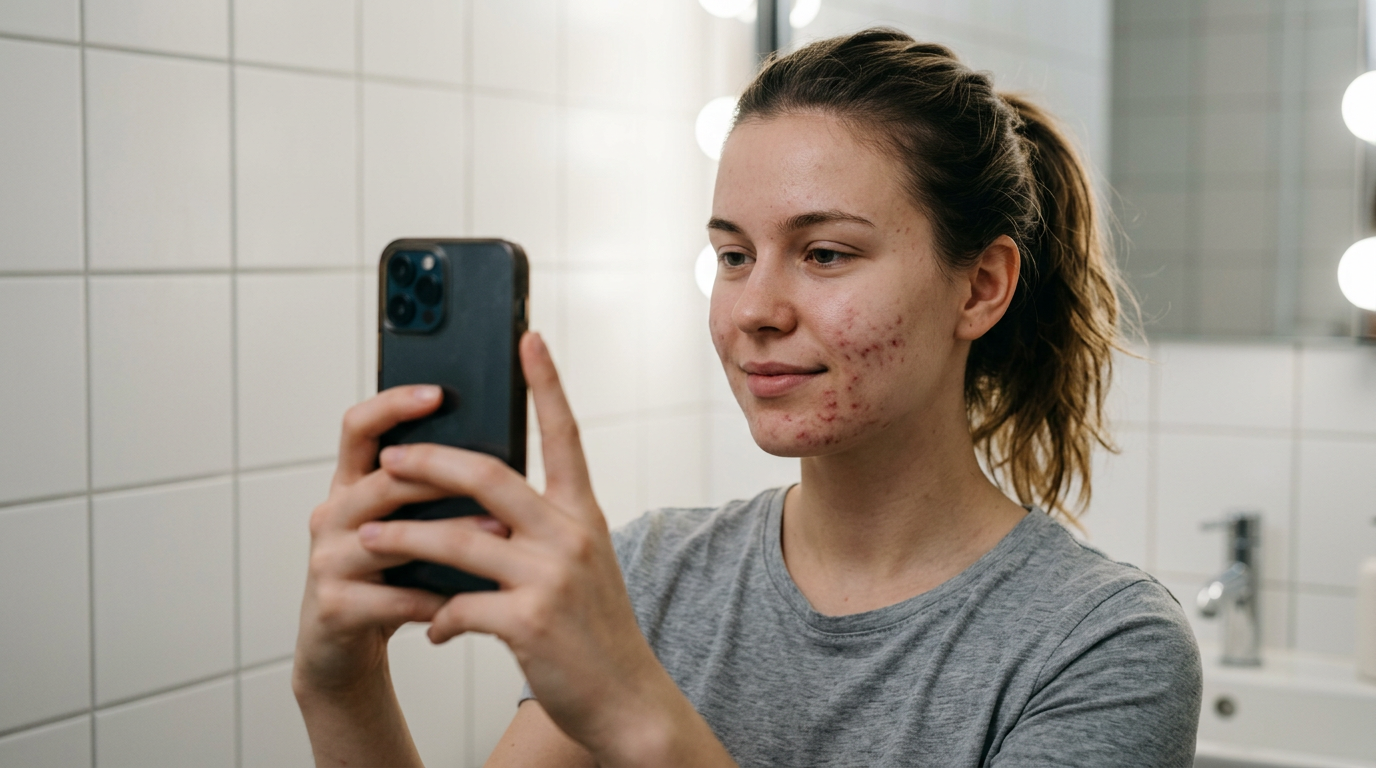
Hands-Free Shooting: If photographing yourself without assistance, mount the phone on a tripod or stable surface and use a 3-second or 10-second timer to prevent blur and wide-angle facial distortion.
3. Focus, Frame, and Stabilise
-
Prevent Motion Blur: Hold the phone with both hands, keep your elbows tucked into your ribs, and tap the specific area of concern on your screen to set the focus point before pressing the shutter.
-
Mind the Focus Distance: Smartphones have a minimum focusing distance. Moving too close prevents the lens from focusing. Step back slightly, tap to focus, and ensure the target area is crisp when zoomed in.
-
Keep the Camera Level: Hold the camera straight and parallel to the surface or eye-level with the face. Avoid high or low angles that distort symmetry, size, or proportion.
Framing & Capturing Context

To give your consultant a complete picture, provide a combination of angles and distances rather than a single close-up shot.
| Shot Type | Purpose | How to Frame |
| Wide / Context Shot | Shows overall placement and scale | Frame the entire area (e.g. full head for hair, full torso for skin, full room for design). |
| Close-Up Shot | Reveals fine texture, colour, and detail | Step in close while maintaining sharp focus; fill the frame with the primary area of interest. |
| Multiple Angles | Captures depth, symmetry, and profile | Take a direct front view, 45-degree quarter views, and 90-degree side profiles. |
| Comparison Views | Highlights asymmetry or changes | Photograph both sides (e.g. left and right cheeks or hands) under identical lighting. |
Preparing the Area & File Guidelines
-
Avoid Products and Edits: Photograph the area in its completely natural state. Do not wear make-up, heavy moisturisers, or hair products that alter texture or create artificial shine. Turn off all automatic beauty modes, skin-smoothing settings, and filters in your camera app.
-
Use a Neutral Background: Position yourself or the subject against a plain, uncluttered, solid-coloured wall to prevent visual distractions.
-
Include Scale When Necessary: If dimensions matter (such as a skin lesion, fabric texture, or physical surface damage), include a standard reference object—like a clean coin or tape measure—directly next to the target area in at least one photo.
-
Send Original Files: Avoid sending screenshots, social media uploads, or compressed messaging app files, as these destroy fine image detail. Upload original, uncompressed image files directly to your consultant's secure platform.
-
Organise & Label: Name your files logically before sending (e.g.,
Front_View.jpg,Left_Profile.jpg,Close_Up_Detail.jpg) to ensure clear communication.
Pre-Submission Checklist
-
[ ] Lighting: Is the subject evenly lit with natural, neutral light?
-
[ ] Clarity: Is the image sharp and in focus when you zoom in?
-
[ ] Authenticity: Are all filters, beauty modes, and editing tools turned off?
-
[ ] Variety: Have you provided wide-context shots as well as close-ups?
-
[ ] Preparation: Is the area clean and completely free of products or makeup?
-
[ ] File Format: Are you sending original, full-resolution image files?
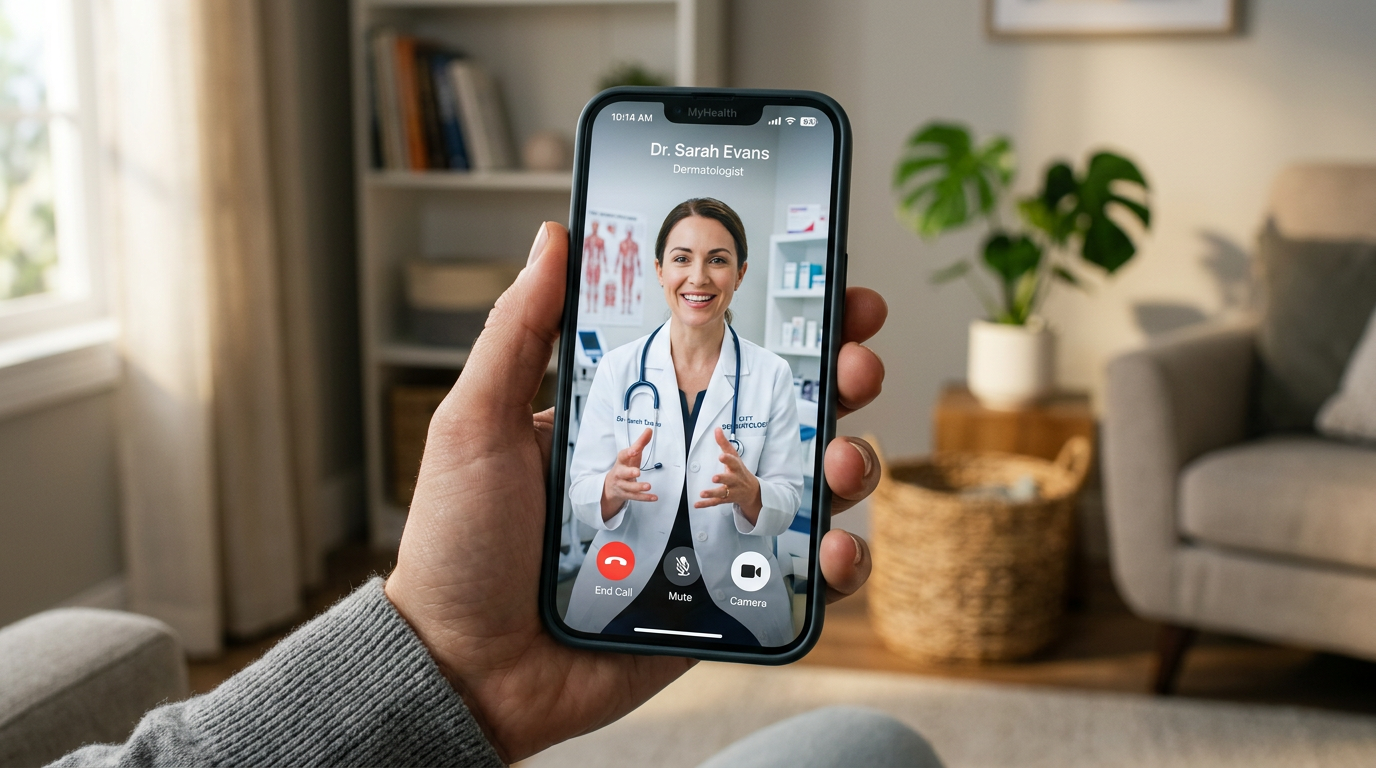
Ready for a professional assessment? Photo consultations are available through The Adare Dermatology Clinic across our practice locations in Dublin, Limerick, and London, as well as online. Whether you are submitting images prior to an in-clinic visit or booking a remote assessment, following this guide ensures our specialists can deliver accurate, tailored advice.
Get in touch with your nearest clinic to submit your photos or schedule your consultation.